Estimated reading time: 6 minutes
Key Takeaways
- H13 tool steel can be reliably repaired through welding, although it’s challenging due to its unique properties.
- To weld H13 successfully, ensure you follow three essential steps: preheating, careful material selection, and post-weld heat treatment.
- Cracking is the biggest risk when welding H13, primarily caused by martensite formation and hydrogen embrittlement during the process.
- TIG welding is the preferred method for H13 tool steel due to its precision and reduced heat impact on the base material.
- Proper preparation, mandatory preheating, and controlled cooling are crucial for successful welding of H13 tool steel.
Table of contents
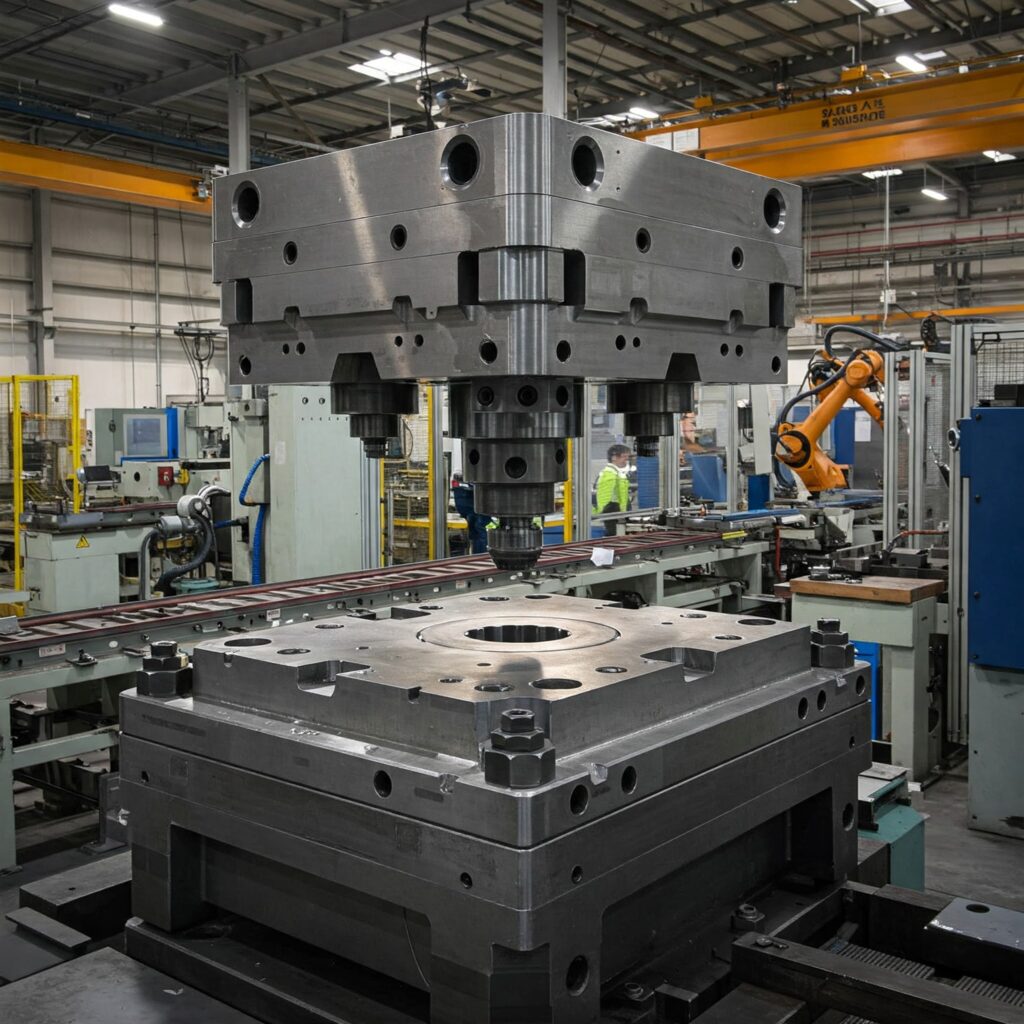
H13 tool steel has long been the most common material in high-temperature working environments. However, during prolonged industrial production, molds inevitably suffer wear or damage. At this point, many manufacturers face a very real and challenging question: “Can this special steel, H13, be reliably repaired through welding?” Our answer is unequivocally yes. Whether for assembling new molds or repairing damaged old ones, H13 tool steel can be successfully welded.
While “weldable” does not equate to “easy to weld,” H13 possesses exceptional hardenability and a unique microstructure. Approaching it with the same casual methods used for ordinary steels often leads to disastrous consequences. The most common outcome is cracking in the weld or base metal, rendering the mold unusable.
To ensure flawless welding, three indispensable steps must be strictly followed: preheating, selecting appropriate welding consumables, and controlled post-weld heat treatment (PWHT).
Understanding the Nature of H13 Tool Steel
To master welding H13 steel, you must first understand its properties. A universal metallurgical principle is that the higher the alloy and carbon content of steel, the more difficult it is to weld. H13 steel is characterized by deep hardenability, enabling full hardening of even large-sized, thick-section workpieces typically through air cooling alone. In its fully annealed state, its internal structure consists primarily of ferrite and alloy carbides; however, upon proper quenching and tempering, it transforms into a hard martensitic structure.
Metallurgical Challenges: The Risk of Cracking
The greatest challenge in H13 welding is cracking. This type of crack is commonly referred to as cold cracking, under-weld cracking, or delayed cracking. Its occurrence is not accidental but results from the combined effect of two critical factors.
1. Martensite Formation in the HAZ
The high temperatures during welding not only melt the filler wire but also intensely heat the base metal adjacent to the weld, an area known as the heat-affected zone (HAZ). Due to H13’s extreme hardenability and the typically rapid cooling during welding, the HAZ undergoes instantaneous quenching. The metal structure in this zone transforms into hard and brittle unquenched martensite. This structure severely lacks ductility and toughness. When cooling contraction generates significant tensile stresses, this fragile zone cannot withstand the forces, leading directly to cracking.
2. Hydrogen Embrittlement
If brittle structures are landmines, then hydrogen atoms are the “fuses” that detonate them. Moisture in the air, oil residues on steel surfaces, or water within welding rod coatings can all decompose into hydrogen atoms under the intense heat of welding. When metal is in a molten liquid state, hydrogen dissolves within it with remarkable ease. However, once the weld cools and solidifies, hydrogen solubility plummets. Vast amounts of hydrogen become trapped within the metal’s crystal lattice, creating a supersaturated state. This is the most dangerous aspect. Trapped hydrogen atoms slowly diffuse and accumulate in the HAZ—the region experiencing maximum stress and greatest vulnerability. Cracks may appear minutes after welding or lie dormant for days before suddenly fracturing. This is known as delayed cracking.
Recommended Welding Processes and Consumables
1. Preferred Welding Processes
1. Preferred Welding Processes
TIG Welding For mold repair work, Gas Tungsten Arc Welding (GTAW, commonly known as TIG welding) is the industry-recognized best choice and the most suitable process for H13 steel. TIG welding utilizes a tungsten electrode and inert gas shielding (typically argon) to deliver exceptional control and precision while minimizing heat damage to the base material. Although Shielded Metal Arc Welding (SMAW) and Gas Metal Arc Welding (GMAW) can also be employed for alloy steels when low-hydrogen operation is ensured, TIG remains the preferred method for precision mold repairs.
2. Filler Metal Selection
When selecting welding wire, our core objective is to make the composition and properties of the weld as close as possible to the base metal. The preferred solution is to directly use H13-specific welding wire. This is the most reliable approach, ensuring consistent performance. If H13 wire is temporarily unavailable, a universal medium-hardness tool steel welding wire can serve as an alternative. This type of filler metal is typically used for welding hot-work and cold-work tools.
Regardless of the process or filler metal you choose, low hydrogen is the bottom line. Using low-hydrogen consumables is the most fundamental means of reducing crack sensitivity and preventing post-weld cracking.
The Three Pillars of H13 Welding Success
1. Preparation and Surface Cleaning
Before igniting the welding torch, ensure the mold surface is thoroughly cleaned. Any oil, grease, moisture, or residual coolant will decompose into hydrogen at high temperatures, causing dreaded hydrogen embrittlement. The welding area must be dry and oil-free. Additionally, ensure the mold’s bevel is a smooth U-shaped groove, not a V-shape. The sharp corners at the bottom of a V-shape easily concentrate stress, making it highly susceptible to re-cracking.
2. Mandatory Preheat
The purpose of preheating is to minimize thermal stress, reduce the risk of thermal shock, and prevent embrittlement beneath the weld due to excessive cooling rates. Small molds (approximately 100mm): The preheat temperature must reach at least 150℃. Large or brittle molds: The temperature must be significantly increased, with a recommended range of 300℃ to 400℃.
The most common scenario in repairs involves molds that have already hardened by quenching. In such cases, preheating temperatures must not be excessively high, as this could soften the mold base material and cause it to lose its original hardness. The preheating temperature must be 14℃ to 28℃ lower than the mold’s original tempering temperature.
Throughout the entire welding process, this temperature must be maintained without allowing the workpiece temperature to drop significantly at any point.
3. Post-Weld Heat Treatment (PWHT) and Controlled Cooling
Welding completion does not signify the end of the process; post-weld treatment is essential for stress relief and preventing delayed cracking. After welding, the workpiece must never be allowed to cool directly to room temperature. It must be allowed to cool slowly, and the temperature should typically not fall below 120℃ before entering the heat treatment furnace. For most repaired dies, the standard procedure is as follows: Allow the workpiece to cool slowly to a warm-to-the-touch state (approximately 71℃ / 160°F, then transfer it to the tempering furnace for stress relief. The tempering temperature should be 14℃ to 28°F lower than the original tempering temperature to preserve the base material’s hardness. This post-weld holding or heat treatment process also serves a critical function: releasing hydrogen atoms trapped within the steel, thereby eliminating the risk of delayed cracking.